Nov 23, 2022 By Begrit Tom Robert
Are you a beginner to start indoor gardening? A bit worry? A bit nervous? Relax… Here I will show you how to start your own indoor gardening. You will find it so easy and funny to get it start 🙂
In this article, I will be exploring indoor gardening by examining various techniques and strategies to help answer questions like:
- What is indoor gardening?
- Cultivation methods of indoor plants
- Top 6 considerations for indoor gardening
- What plants are best for indoor gardening?
- Essential products and tools every indoor gardener needs
- 5 Useful indoor gardening tips for beginners
But before we get ahead of ourselves, let’s take a step back and talk about indoor gardening.
What is indoor gardening?
Indoor gardening is similar to growing an outdoor garden with the benefit of year-round harvests. You can grow fruits, vegetables, herbs and even flowers that brighten your living space. The climate-controlled features of your home make it possible to produce table-ready food with a few inputs.
Growing a garden is more than a way to reduce trips to the grocery store or provide greens to your kitchen table like Begrit grow trays. Whether it’s walking through the rows of tomatoes or sneaking past potted peppers, gardening can be an excellent source of stress relief.
Cultivation methods of indoor plants
Indoor gardening comes with various choices, ranging from easy to more adept techniques. Here are 4 options to consider before beginning.
Soil Culture: mainly with garden soil, peat soil, rotten leaf soil, sand and other mixed platform into easy, fertile basin soil. It is easy to manage if you plant one plant in each basin. But if a variety of plants are planted in a large planting basin, the formation of a combination of planting, it is more complex to manage them, but the appreciation will be greatly improved. When choose combination planting, the plant species need with small difference to light, temperature, moisture, humidity requirements. A high and low strewn at random, each show its appearance. Awesome! Suggested to insert with water pipe or a few appropriate flowers.

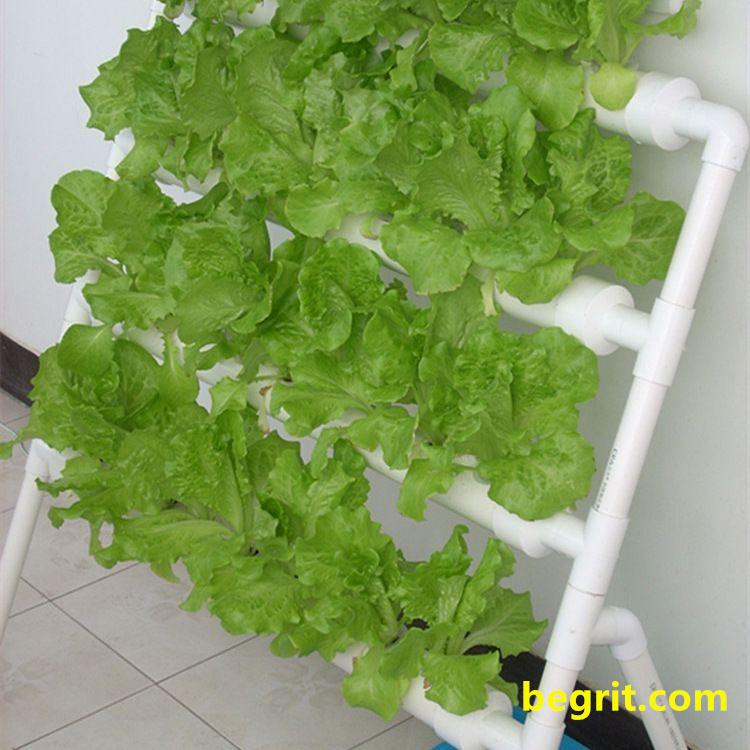
Medium cultivation system: Although the Soil Culture has a long history, due to the poor hygiene, it is not appropriate to be used as an indoor cultivation method. However, the medium culture and hydroponic can overcome the shortcomings. The medium materials are pottery and gravel, perlite, locust stone, pumice, peanut shell, peat, sand and so on. After adding nutrient solution, we can also provide oxygen, water, nutrients to help fix and support the root.
Epiphytic culture: In the tropics, especially in the rain forests, there are many epiphytes. They do not need soil but attached to other plants or deadwood. Using the plant fibers as the epiphytic matrix. Epiphytic plant landscape is very beautiful, which is the main cultivation method of the key landscape in the exhibition greenhouse. Common epiphytic cultivated plants are orchid plants, bromeliaceae plants, ferns and so on.

- Bottle cultivation: suitable for small plants with high temperature and high humidity, by using a transparent wide mouth bottle glassware. Plants such as Saxifraga, Peperomia obtusifolia, Fittonia.
Top 6 considerations for a garden indoors
There are lots of tips on indoor gardening for beginners, but let’s dive deeper into the most accessible and versatile system: working with a soilless medium. There are six things to consider as you prepare your indoor garden: location, light, water, temperature, a growing medium, and nutrients. Let’s jump into each of these a bit more.
1. Location

Determining the ideal location for your future indoor garden is fundamental to the success of indoor plants. Consider your indoor environment first. Plants positioned farther from a south-facing window (for those located in the Northern Hemisphere) may require supplemental lighting to be equally as productive. The location in the house also determines what you can grow. For example, a bathroom window may not be the right place for a large tomato plant, but it could be ideal for a small tropical plant.
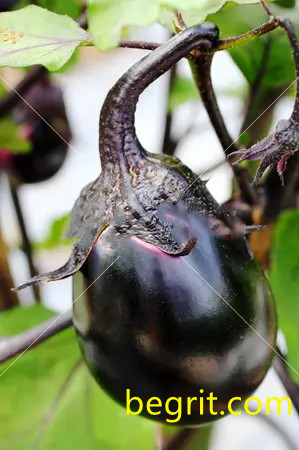
Ideally, when indoor gardeners want to grow larger plants, they find a space that accommodates their eventual max size. But when limited on space and wanting to produce something like a tomato or eggplant, consider “patio” or “miniature” varieties. These plants grow into a more compact size and are less likely to overtake your other crops.
PRO TIP: Consider choosing a location based on a plant’s hierarchy of needs. Does the location have light? Is it close to a water source and is it in a place that won’t easily be forgotten?
2. The right light for photosynthesis

Plants require light for photosynthesis, the process that fuels them, but how much light? When choosing a location, ask yourself if you can utilize natural sunlight with a south-facing window or if you will need to grow under the glow of artificial lighting? On average, annual vegetable plants will need between 6 and 8 hours of direct sunlight to produce flowers and fruit.

When working with limited natural light, remember that the opposite sides of the house produce a different quality of light. Eastern morning light is less harsh; excellent for delicate plants that only need 4 hours of direct sunlight. Meanwhile, the western afternoon sunlight is hot and intense, great for those sun-loving hot peppers.
Finally, there are various options to consider when exploring artificial lighting, ranging from Fluorescent to LED and even High-Intensity Discharge (HID) for the home-grown professional. Be sure to research which light may be best for your unique space. And while we’re here, it is essential to note that some plant growth stages require various sunlight hours (a response that informs the plant that the seasons are changing). If you are growing with grow lights, make sure to research how to adjust your sunlight hours to match your chosen fruits and vegetables.
PRO TIP: When growing next to a window, it is natural for indoor plants to want to lean towards the bright light. Be sure to rotate your containers frequently to ensure distributed growth.
3. Remember to water your plants regularly
Novice and expert gardeners alike have had a moment of panic from forgetting to water their plants. Under watering a plant can lead to stunted growth while over-watering can result in root rot. An incorrect watering strategy can lead to the death of your plant, so be sure to check your plants at least once a week to see if they need a drink.
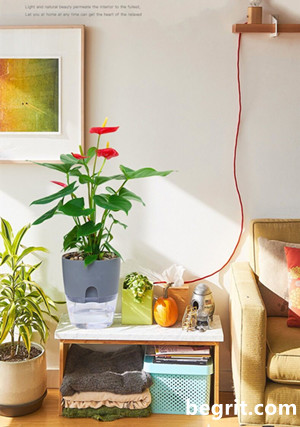
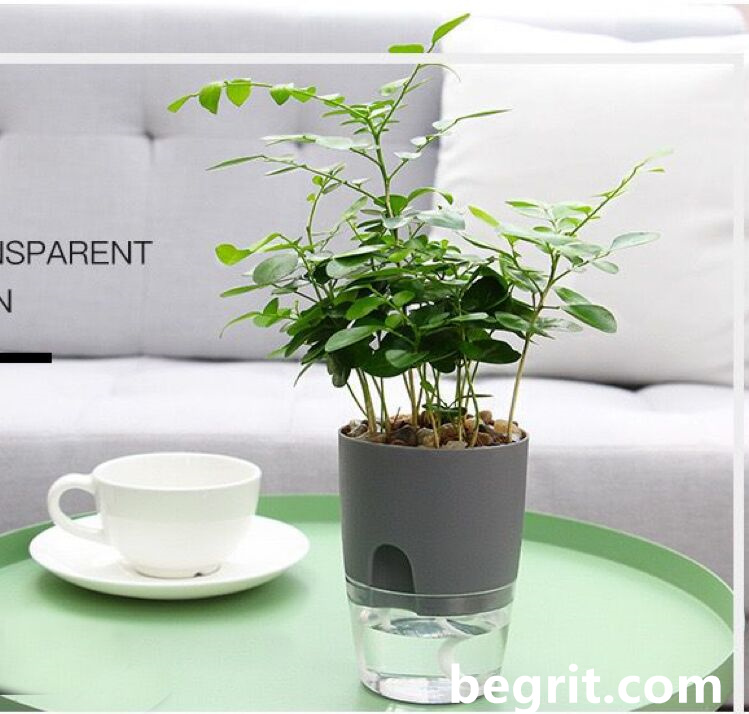
The easiest way to see if a plant needs water is to poke a finger an inch into the soil to see if it is still damp. For larger containers, gently lift them to determine how much water remains. Now there are many automatic water absorbing flowerpots on the market, such as Begrit’s double-layer water storage flowerpots, which can help greatly reduce watering times and avoid various watering operations.
PRO TIP: Using the proper pot or nursery can avoid the embarrassment to watering too much or forgetting to water your plants. If you don’t know which basin to choose, leave me a comment below before buying.
4. Choosing the temperature plants prefer
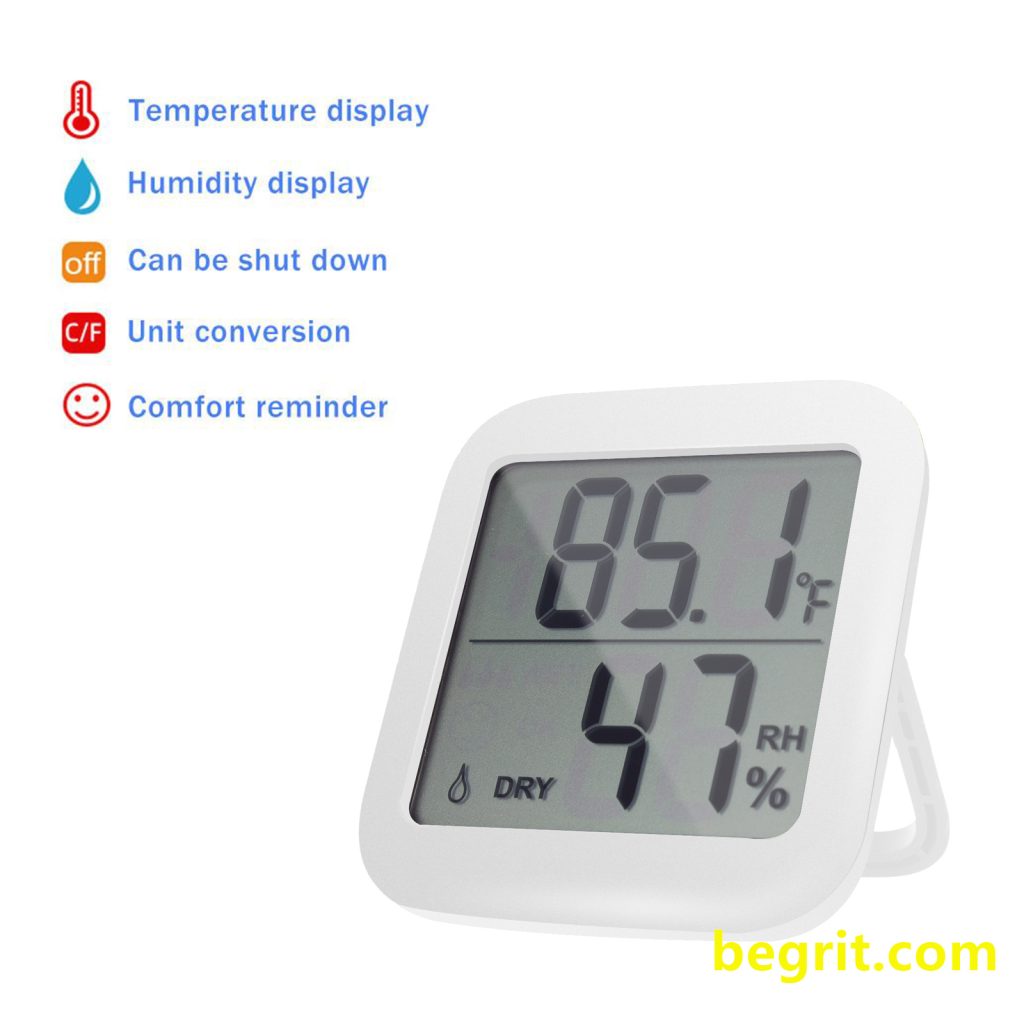
Regardless of how hardy your plants are, even the strongest will struggle against the hottest days of summer or frosty nights of fall. Luckily, indoor plants can take advantage of the climate-controlled security of your home.
Your indoor garden will generally enjoy temperatures between 60-75F (15-24C). But each plant will have different preferences, growing best at select temperatures. If you like your home or apartment at a specific temperature, consider finding plants to match your unique environment.
Some perennial plants use the cool winter months as a period for them to go dormant. If you have selected one of these plants, research its dormancy period. Depending on the specific plant’s recommendations, withhold fertilizers and reduce watering, as plants don’t require near as much during this stage.
PRO TIP: While you’re choosing a place to house your indoor plants over winter, take care not to place your tender plants in cold zones that can shock them, limiting plant growth. These can occur around windows and doors that you may open, even briefly.
5. Select a medium to grow
A growing medium can be as simple as traditional vegetable potting soil and complex as a custom-crafted mixture. Regardless of your medium, ensure you select one that contains enough minerals and nutrients to support early plant growth.
It is essential when growing indoors not to use outdoor dirt. The dirt outside is a combination of sand, silt, and clay, which is great for the ground but not for potted plants. This mistake can lead to a compacted pot that drains slowly and chokes plant roots. Outdoor dirt can also bring harmful bacteria and pests to your plants, potentially damaging or killing them.
PRO TIP: Choose a well-draining soil or make one that combines compost, peat, and vermiculite, providing an airy soil with good moisture retention. Consider using an equal part combination as seen in Begrit Herb Pots 3 Pack.

6. What nutrients to feed your plants
Beyond selecting a proper potting soil, choosing the proper plant food can help plants to thrive indoors. Composting at home, whether in a backyard space or inside, can allow you the opportunity to grow plants using your own processed nutrients.
But as your plants grow, they will slowly consume the initial nutrients present in the growing medium. Depending on how quickly your plant feeds, you will need to feed it monthly, or potentially even less. As you provide food for your plant, it is helpful to understand how each nutrient deficiency varies visually. This knowledge will allow you to remediate the problem without potentially overfeeding your plant the incorrect nutrients.
It is essential that your plants get a balanced diet of Nitrogen (N), Phosphorous (P), and Potassium (K), as these are the primary nutrients. Often overlooked, Calcium (C) and Magnesium (Mg) are secondary nutrients that are just as important to the healthy development of a crop.
PRO TIP: You don’t need to worry about the details of the nutrients, you just need to purchase the corresponding nutrient solution of the plant. Of course, it is best to look at the instructions first to determine that this nutrient solution is suitable for your plant.
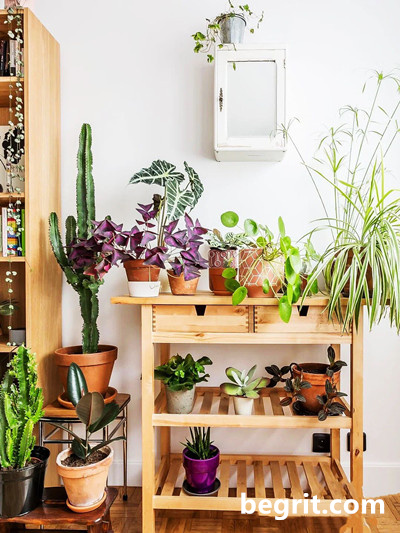
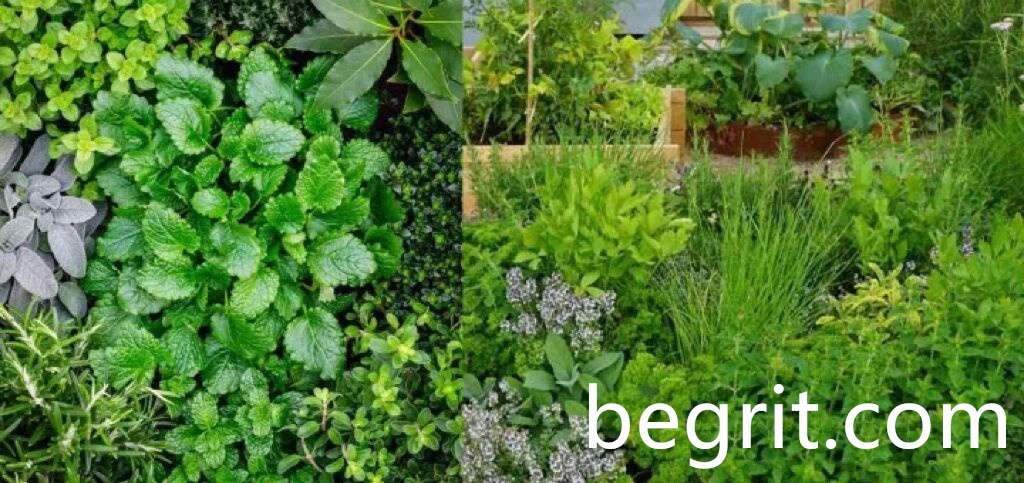
What types of plants are best for an indoor garden?
Once you’ve gathered the supplies necessary for your indoor garden, it’s time to plant your seeds or seedlings. Each plant has different needs, so instead of looking at the perfect single plant, let’s examine three separate categories: Leafy Greens, Aromatic Herbs, and Vegetables.
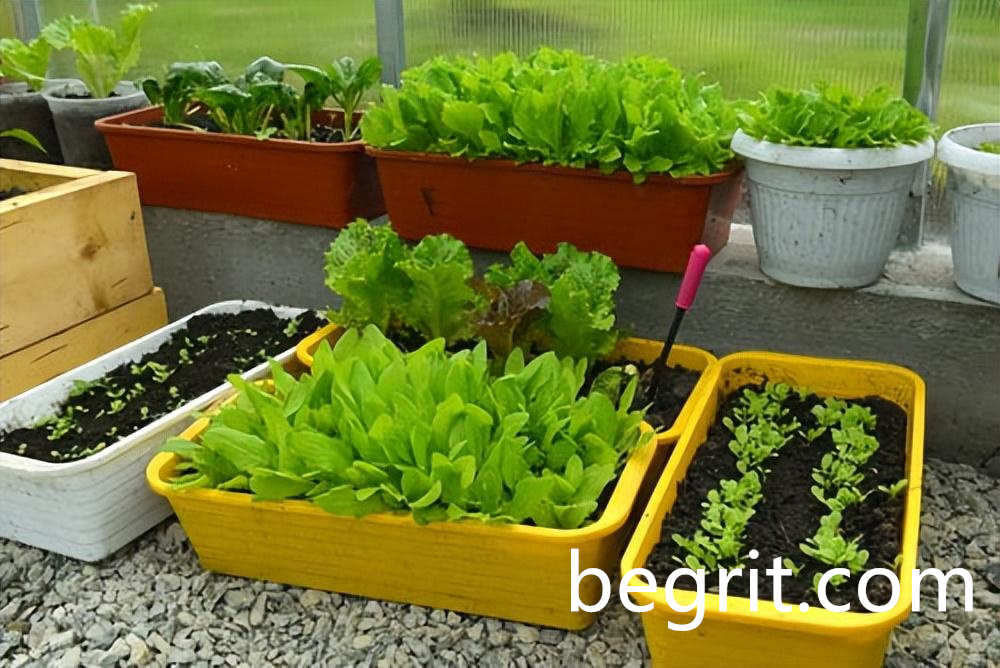
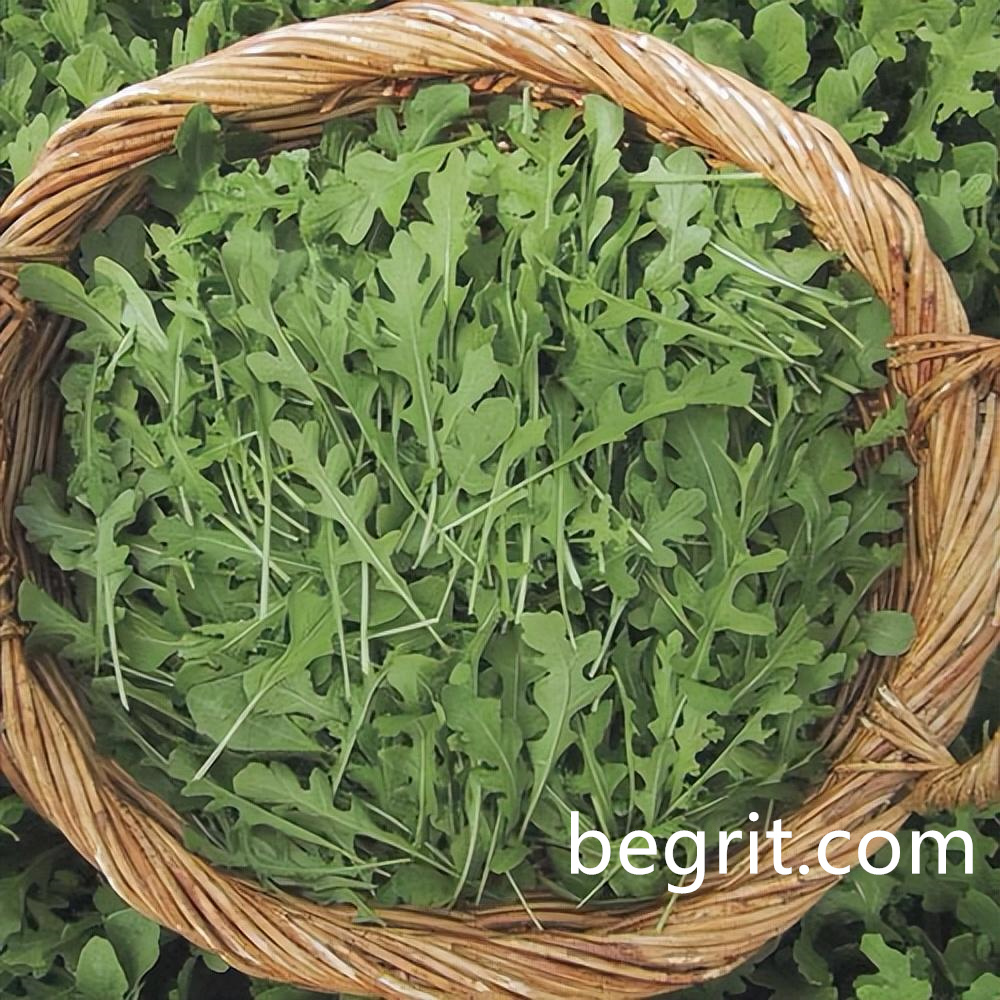
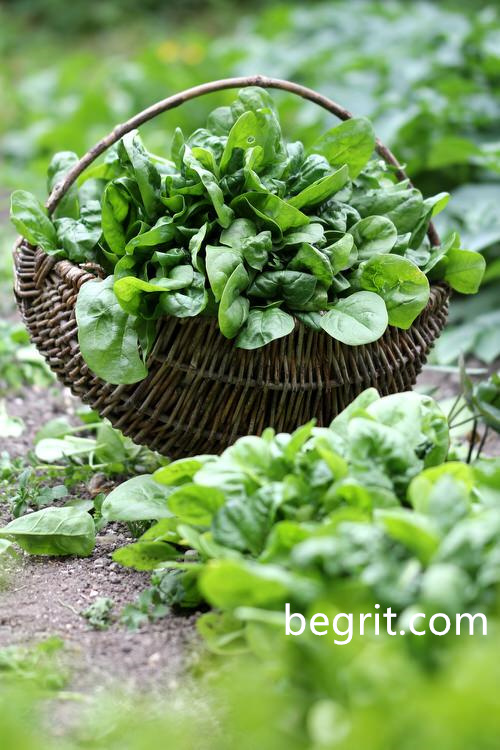
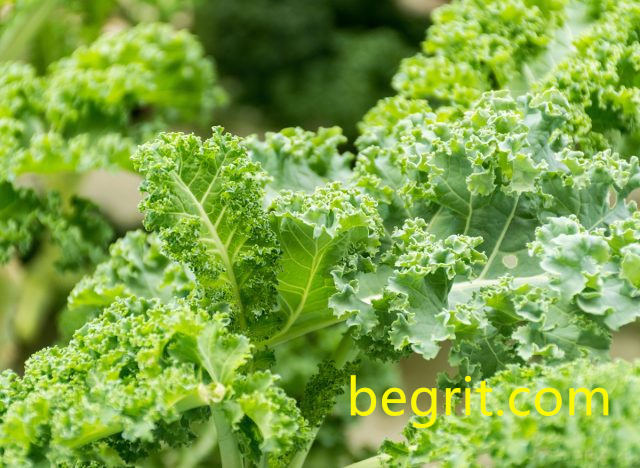
1. Leafy greens
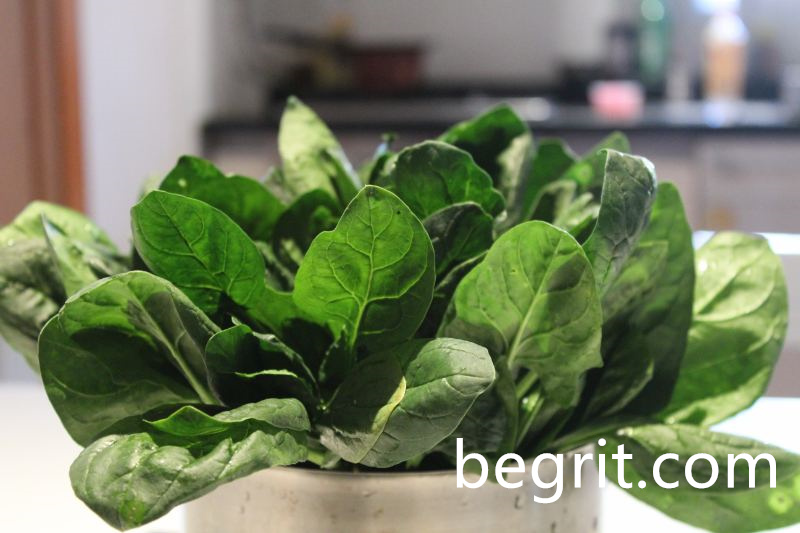
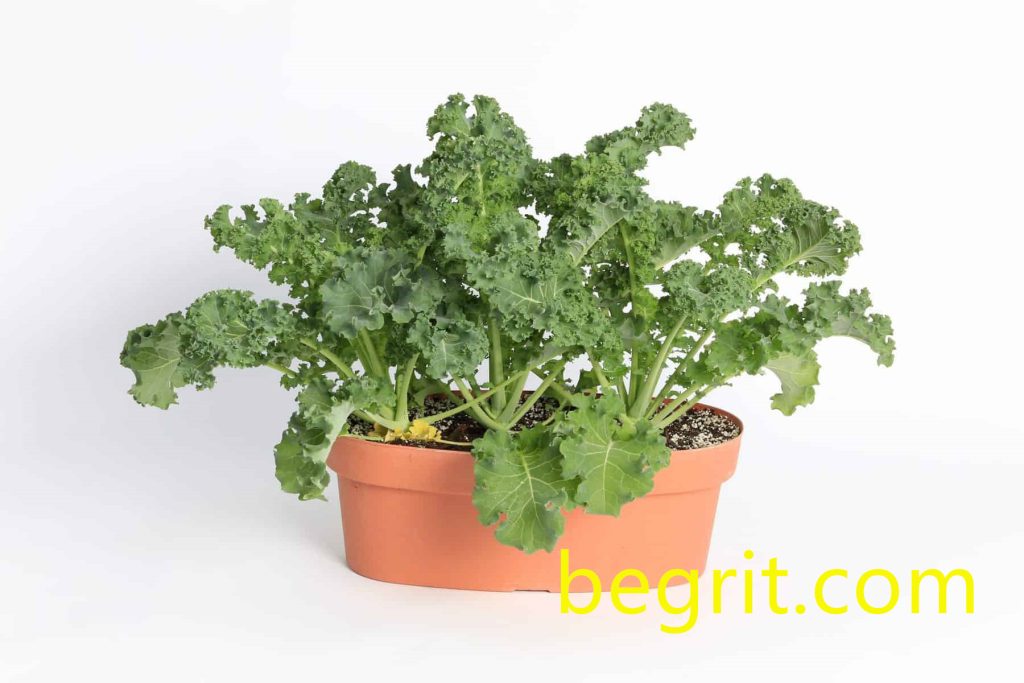
Great for making salads, these herbaceous vegetables do well in moderate light and are more tolerable to cold. As a bonus, some leafy greens can be used in a cut-and-come-again strategy, allowing you multiple harvests over an extended time. But be cautious when choosing your leafy greens, as certain varieties like Kale can grow to be quite large.
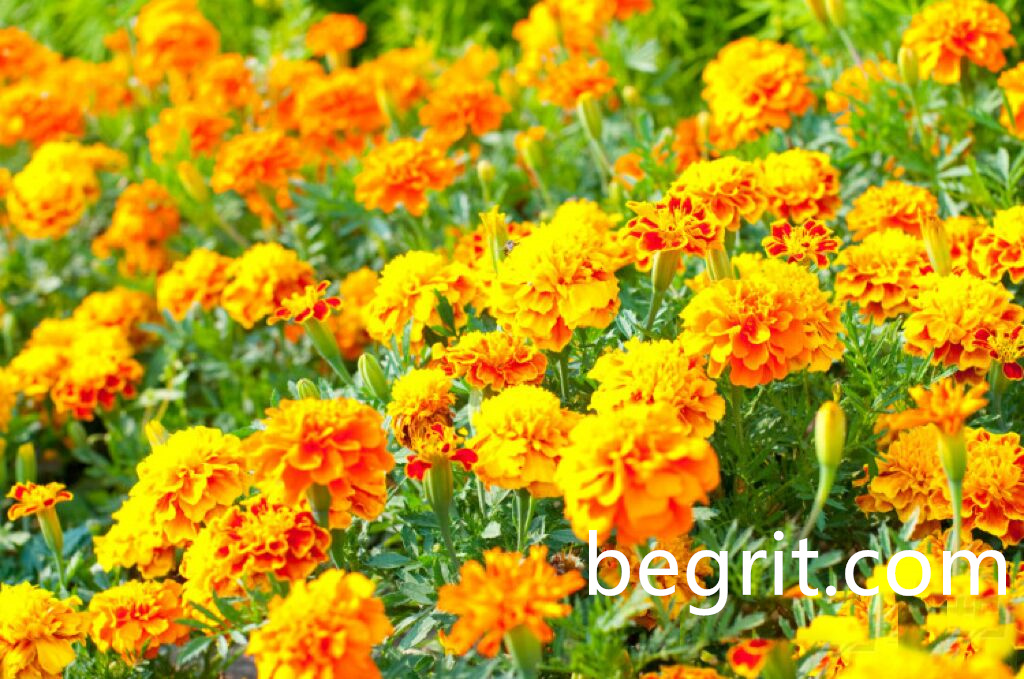
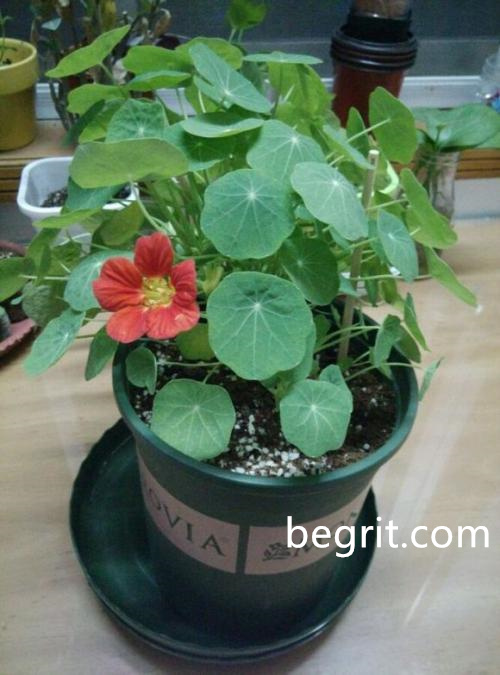
Some popular leafy greens include cruciferous vegetables—such as arugula and collard greens—and other plants such as spinach, lettuce, swiss chard, and even flowering Nasturtiums.
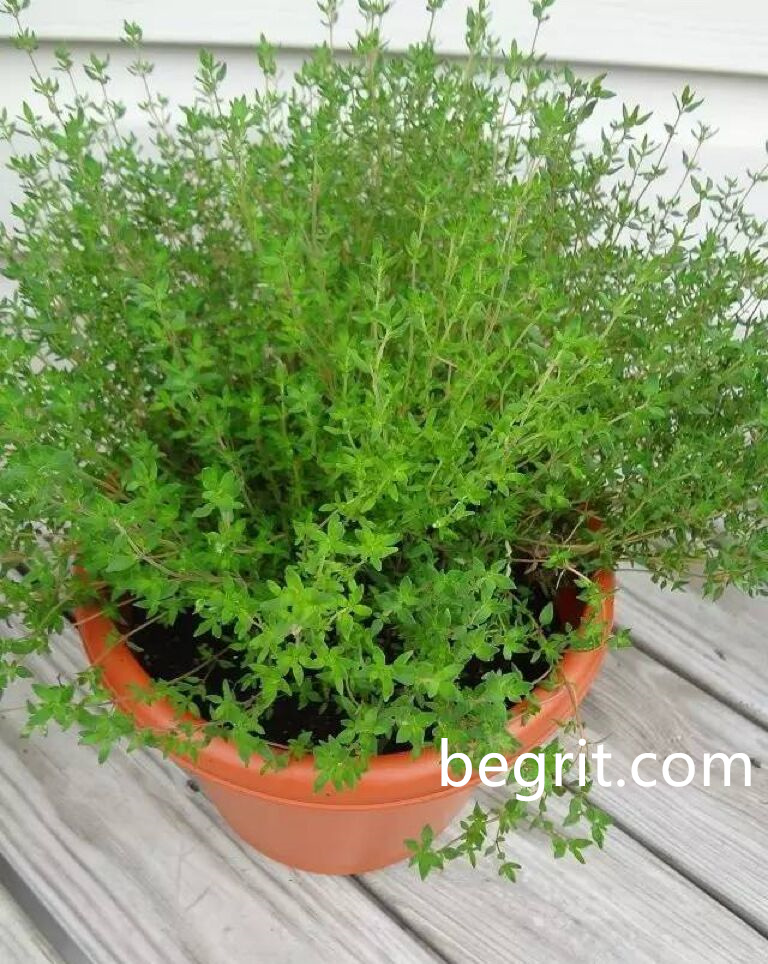
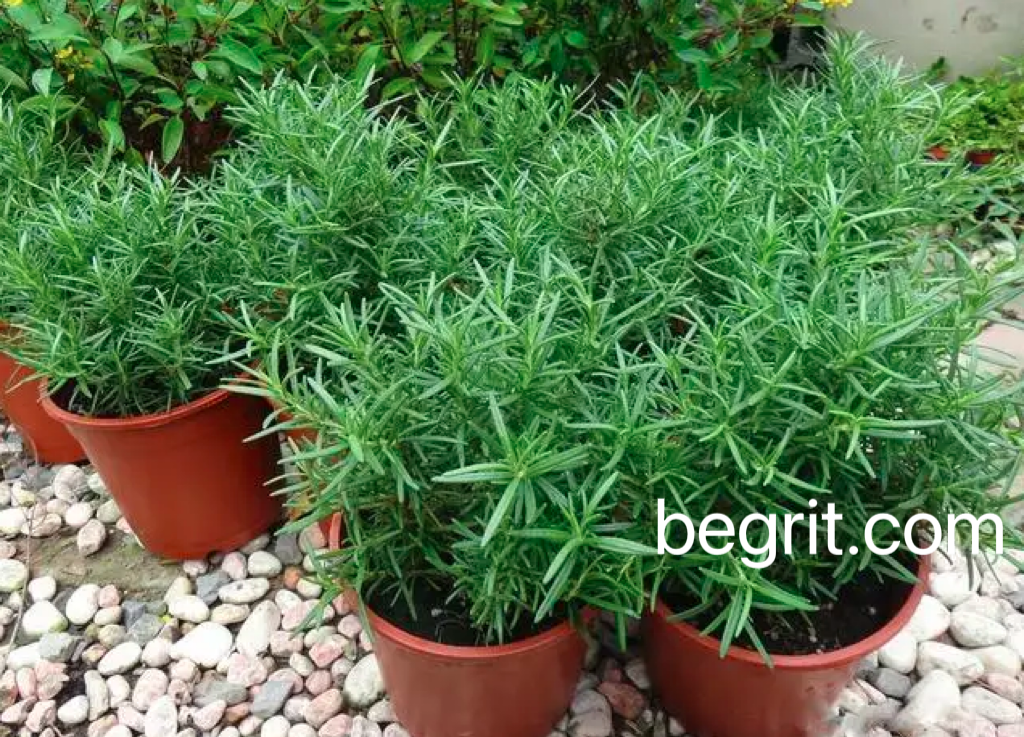
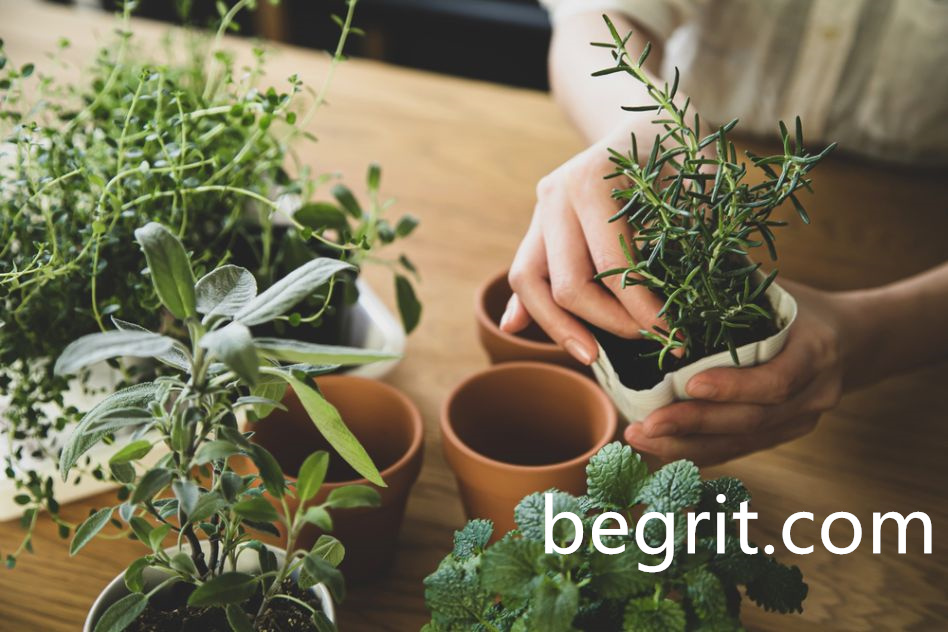
2. Aromatic herb garden
Herb gardens make a great addition to any indoor garden. With their alluring aromatic oils, it can be difficult to walk past your favorite fresh herbs without rubbing the leaves between your fingers or sneaking a nibble of the robust flavor. But, like leafy vegetables, be sure to select your indoor herb garden wisely, as many plants can vary drastically in preferences.
Plants such as oregano and sage do well in dry conditions, while mint and parsley do better with regular watering. While chives prefer full sun, they benefit from the early morning light. On the other hand, thyme also enjoys full, late-afternoon sun, likely due to its Mediterranean origins.
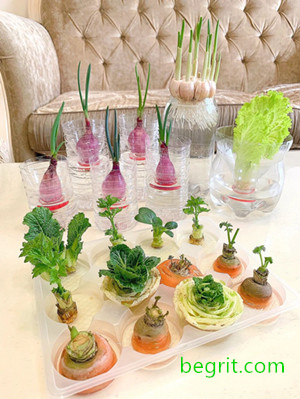
3. Indoor vegetable garden
Most people think of larger vegetable crops when fantasizing about their ideal indoor garden. And while you’ll never get rows of carrots or towers of tomatoes, you can grow plenty of food from your windowsill. The only downside with more vigorous vegetable production comes with light and container limitations. These vegetables may require supplemental lighting and the occasional repotting if you want to get the most out of your garden. Ultimately, not all vegetables will prosper indoors.
For the indoor gardening beginner, some great crops to consider include carrots, hot peppers, and tomatoes. Carrots are great root crops, needing a deep container to grow appropriately. The incredibly hard-to-kill tomato plant is also an excellent starter for new gardeners. When searching for the right plant, select a patio variety and install a trellis or cage in the pot over the young plants. If you don’t, you’ll have a runaway tomato in a few months!
If you’re struggling to get the 8-hours of direct sunlight for your plants, consider other root crops such as beets and radishes. These crops can still produce a quality crop with 6-hours of daily light. And finally, avoid both heavy feeding plants and adventurous travelers like pumpkins, squash, and watermelons.
The 3 essential products & tools every indoor gardener needs
The best way to tell which tools will work best for your garden is to begin and see what you can use to make your life easier. Ultimately, your gardening shouldn’t become a daunting task that you dread, so let’s explore a few essential products that will help you and your indoor garden.
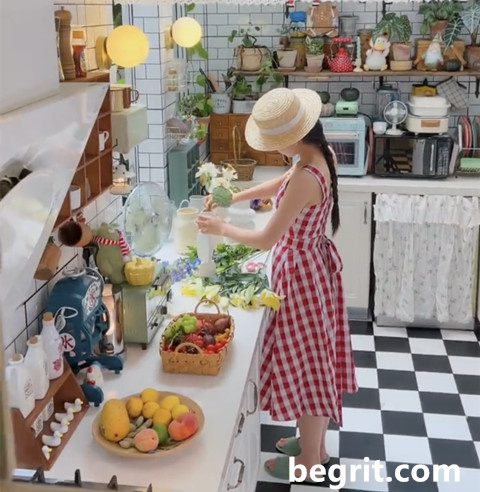
- Begrit Kitchen Herb Pots 3 Pack
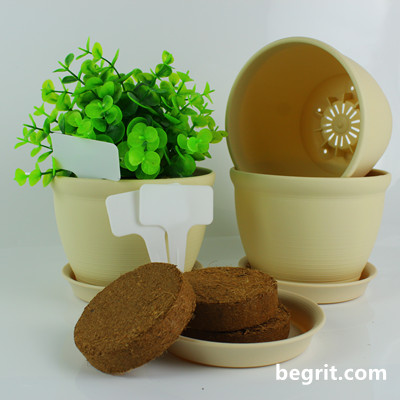
Plant a few pots of vibrant herbs on the kitchen windowsill this winter to create a greener interior and fill your home with hopeful beauty.
- Why you need it: If you love gardening, you deserve a more durable pot, thicker design, more than 2 coins thick, strong enough to be used for several seasons. The pot and bottom tray are made of food-grade #5 PP materials, as well as the matching pure natural coco coir soil disc, so that the herbs grown are healthier and safer, and can be picked and eaten at any time.The bottom of the 360-degree breathable and water-permeable design can make the plant grow better, and the patented bottom breathable hole design increases the air permeability by more than 3 times compared to the same kind of single drainage hole pot, so that the plant roots get more oxygen and higher yields.
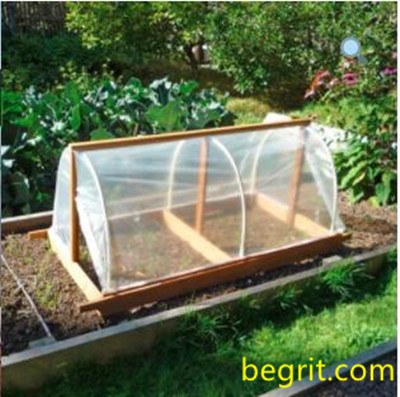
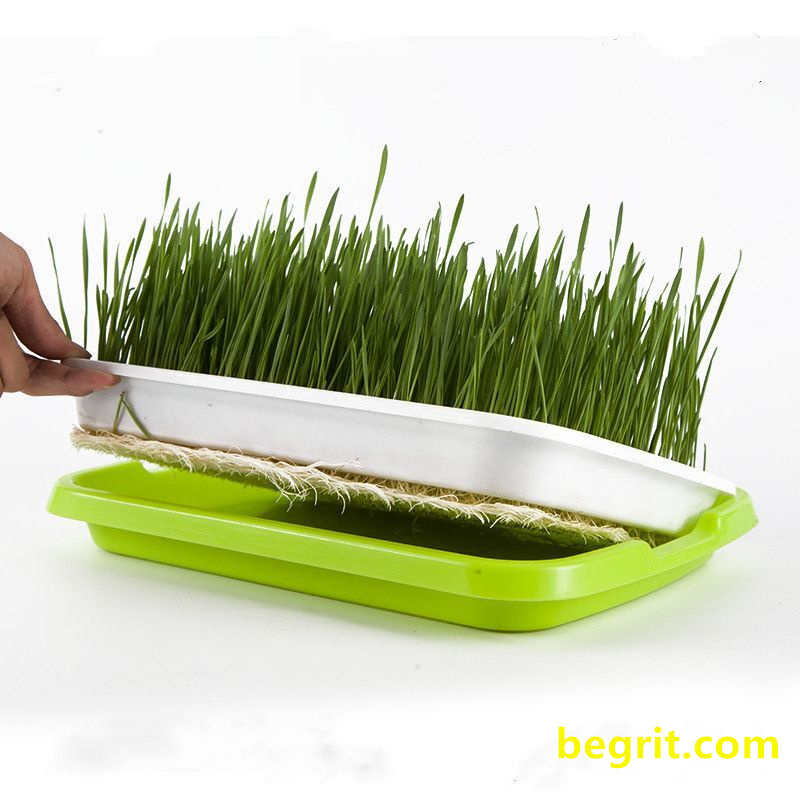
2. 1020 Flat Seedling Starter for Growing Sprouting Propagator Seeds
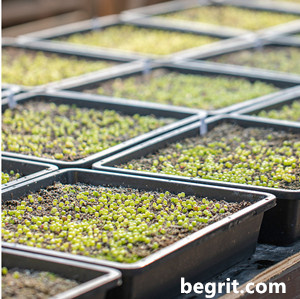
These mesh bottom seed trays are ideal for soil block propagation or for anyone that needs a tray with extra drainage. Our soil block trays are built with Extra-Strength so they won’t sag, break or warp even while transporting heavy loads.
Why you need it: Mesh bottom provides idea hydroponic solution for germination, microgreens, wheatgrass, fodder
Perfect for Seed Starts, Microgreens, wheatgrass, nursery & greenhouse use.
Mesh bottom drain holes make trough watering from below feasible. Once it has drained off after watering you can set the tray with holes into a tray without holes so you don’t drip water everywhere. You can nest this tray inside a tray without drain holes to use it as a drip tray.

If this is your first time gardening, purchasing a complete kit to have handy would be worth it. Look for necessities such as hand trowels, gloves, pruning shears, spray bottles, and garden ties.
Why you need it: While it is possible to garden using materials you find around the house, having access to a complete garden toolset will make the process faster and cleaner. Even if you don’t mind getting your hands dirty, using the proper tools will reduce the chance of damaging your vegetables, leading to infection or death to part or all of the plant.
Top 5 useful indoor gardening tips for beginners
Learning how to start an indoor garden can be overwhelming. No matter how much reading and preparation you make, there is always a chance that your garden’s needs will eventually catch you off guard. Just remember these five helpful indoor gardening tips.
- Water regularly: It is essential to keep your plants well-watered, but don’t confuse this with overwatered. Plants prefer to have their roots in a moist environment, so allowing the soil to dry out can damage the vital root system of the plant. Make sure your pots have holes in the bottom to let excess water leave the container.
- Feed on a schedule: Plants get hungry and show signs of stress to let you know they’ve gone too long without plant food. The feeding frequency will change depending on how mature the plant is, so closely monitor your garden’s feeding schedule to prevent unnecessary stress.
- Watch for disease and pests: When a plant stresses from a lack of water or food, it becomes weak and susceptible to both disease and pests. In a closed environment, such as an apartment, when problematic insects find their way into the garden, it can lead to an infestation that affects all neighboring plants. Keep an eye out for the common pests (aphids, spider mites, thrips, etc.) and be prepared to act fast.
- Give your plants room to breathe: The bushy bodies of your plants will block airflow and trap moisture when they’re too close together. Keep some space between your plants to promote airflow and reduce the likelihood of mold or fungus forming.
Give yourself room to breathe: Whether this is your first, tenth, or hundredth time gardening indoors, remember to take a step back and breathe. Every time you grow a new plant, it is an entirely new moment full of unique challenges and rewards. Remember to enjoy the moment, be present, and learn from any successes and failures you experience.
With these tips and tricks, you’re well on your way to starting your indoor garden! Wish you to start a pleasant planting trip!