Oct 10, 2022 By Begrit Tom Robert
Are you as excited as me when you harvest your own food and enjoy it at the table? Growing your own food is incredibly rewarding, but it’s not always clear how soon you can expect to start harvesting. This guide outlines some of the fastest-growing greens and food from seed so you can start sampling tasty greens and veggies as soon as possible!
In this article, you can find foods with different growth cycles as follows:
10-15 DAYS MICROGREENS
14-21 DAYS BABY ARUGULA & PEA SHOOTS
25 DAYS BABY LEAF LETTUCE, SPINACH & RADISH GREENS
30 DAYS BABY KALE & SWISS CHARD
PRO TIP:
You can harvest the “baby” forms of most leafy greens within 2-3 weeks. Just be sure to leave a few plants to grow to their full size, so you can enjoy a bigger harvest later!
Since you’ll be harvesting these crops young, you only need shallow containers with drainage holes. Seed-starting trays are ideal, but even clean takeout containers (with holes poked in the bottom for drainage) will do the trick. If you’re planting outside and have raised beds, take advantage of their earlier soil warmth.
You may have success indoors if you have a sunny location that gets at least four hours of sunlight for pea shoots, six hours of sun for microgreens, and up to twelve hours of light for lettuce. For best results use a grow light — it will give you a consistent light source and better results.
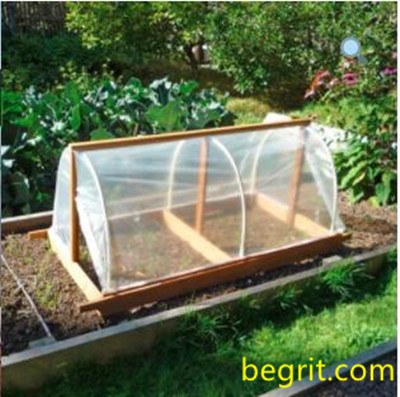
Most greens are cold-hardy and can be planted outdoors 2-6 weeks before the last spring frost. Be prepared with a protective cover, such as Plastic Sheeting Clear Polythene, in case of a cold snap. The cover’s added warmth will speed up germination too!
10-15 DAYS MICROGREENS
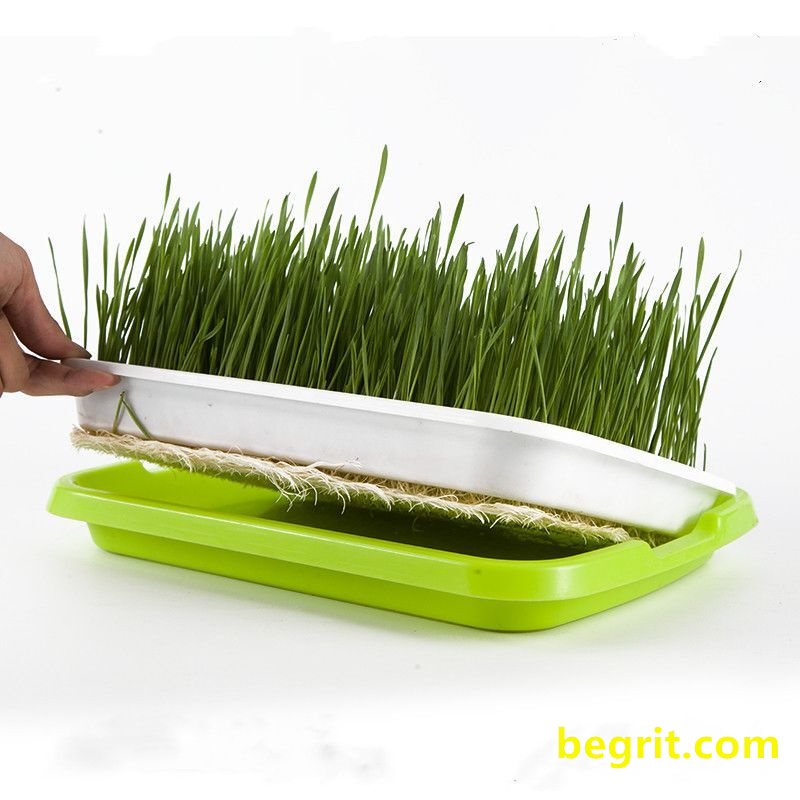
Microgreens can be grown under lights or on a bright windowsill. Whether you choose seeds that are mild or zesty, you’ll grow a nutrition-packed topping in a couple of weeks.

Microgreens are easily grown indoors. Cover the bottom of your shallow container with an inch or two of moistened potting soil. Flatten gently to even surface without over-compressing the soil. Scatter seeds on the top, press gently into the surface and cover with a thin layer of soil. Cover the container with a clear plastic to let light in while keeping soil moist. Spray once or twice daily with a mister to maintain moisture until germination. Once seeds have sprouted, remove cover and continue to mist each day. Harvest with scissors when the greens reach about 2” tall, or when the stem produces the first set of true leaves.
- 14-21 DAYS BABY ARUGULA & PEA SHOOTS
Enjoy spicy arugula and spring-sweet pea shoots just a few weeks after planting. They’re fabulous in salads, sandwiches and wraps, even on top of pizza!

A member of the mustard family, arugula has a smoky, peppery, complex flavor and scent. It’s often found in mesclun salad mixes, where it lends a pleasant bite. Plant arugula seeds 1/8” deep, lightly covered with potting soil. Arugula can be densely planted and thinned with each harvest—plants in each subsequent harvest will be larger than the last! Sow additional seeds in the open spaces to begin your next crop.

Pea shoots require fewer hours of sunlight than many greens, so they are a good choice if you don’t have more than a few hours of sunlight indoors or in your yard. Soak dried pea seeds in water for 24 hours. Fill your container with moistened potting soil. Sow seeds densely across the top of the soil, even touching each other, since you will be harvesting the shoots! Cover with a ¼” layer of potting soil. Water the surface lightly. Keep the soil moist until shoots reach 3-4 inches tall. To harvest, pinch off each shoot just above the bottom leaves.
- 25 DAYS BABY LEAF LETTUCE,SPINACH & RADISH GREENS
Leaf lettuces are super easy to grow, and are available in many varieties. Harvested young, the leafy tops of radishes and beets are a tasty addition to salads.
When it comes to choosing lettuce seeds, and you’re planning to grow indoors, loose-leaf varieties, such as Baby Oakleaf, Tom Thumb, and Black-Seeded Simpson are good choices. If you are growing indoors and lack the ideal 12 hours of sunlight, try varieties that are known to grow well in winter light, such as Arctic King, Winter Marvel, and Winter Density. A grow light will give you the best results.
Moisten seed-starting mix or potting soil, then fill containers with about 3-4″ of prepared mix. Scatter seeds on top of the mix, trying to keep them about an inch apart. Cover the seeds in a very thin layer of planting mix. If you’re using a multi-cell seed starting system, plant three or four seeds in each cell.
Place your containers in a warm and sunny location (12 hours of sunlight is ideal). To maintain moisture, cover them loosely with plastic wrap or a lid. Once sprouts appear, remove the cover and thin the seedlings so they’re about an inch apart. Keep the seedlings moist. Harvest outer leaves first, allowing inner leaves to continue to grow.
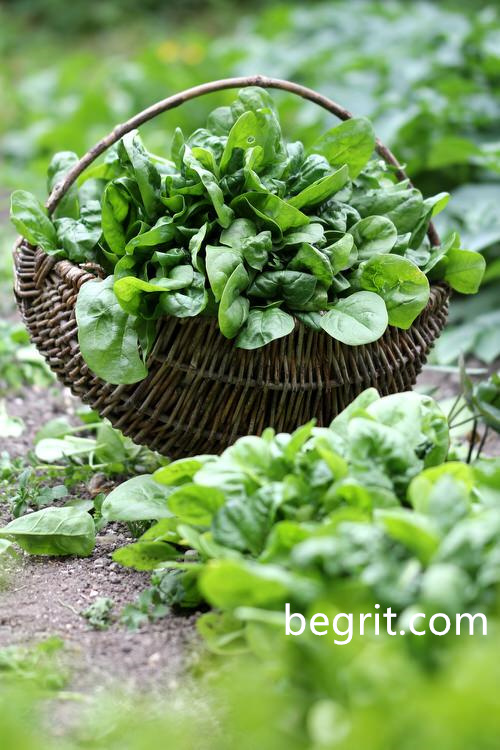
Spinach is a cool-weather crop, so you can plant directly into the garden or outdoor container, four to six weeks before the last spring frost. To get better and quicker germination, soak the seeds for several hours before planting. Plant seeds ½” deep in potting soil mix, covering seeds to the top of the planting holes with additional soil. Keep moist but not wet until germination. Harvest spinach as you would lettuce. Either cut off all the leaves about an inch or so above the soil level and let the whole plant grow back (this technique will usually produce two or three crops), or simply harvest the largest leaves as you need them.
Harvested young, the leafy tops of radishes and beets are a tasty addition to salads, and add a flavor dimension to pesto. The radishes themselves can also be harvested within 3-4 weeks of planting, depending on the varieties.
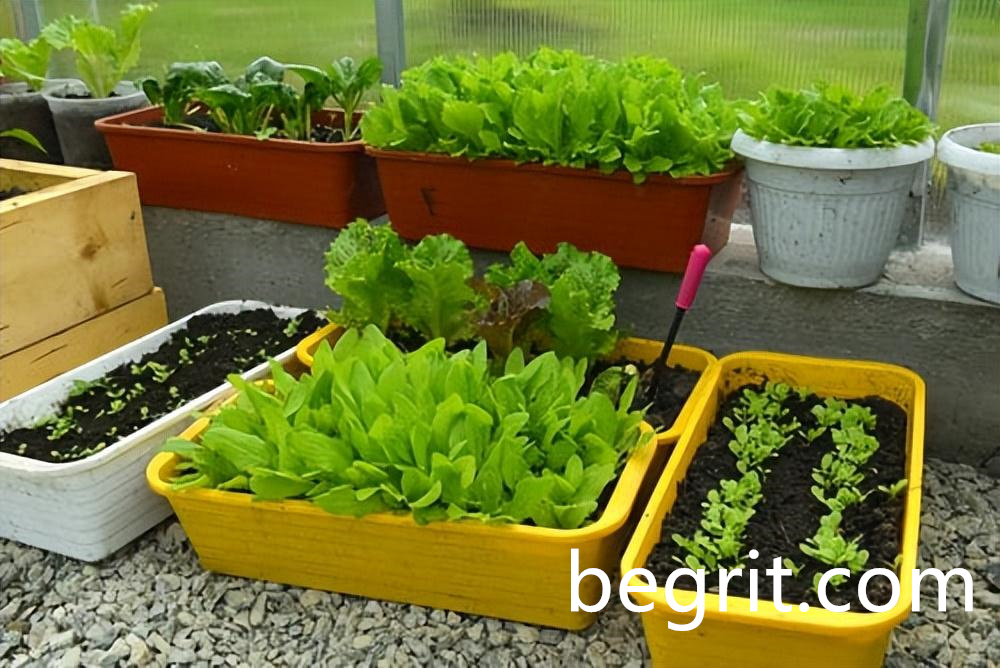
Radishes can be sown outdoors 4-6 weeks before the last average frost date. germinate quickly. Sow radish seeds ¼-1/2” and about 1”apart. Thin to 2 inches apart after sprouts appear.
- 30 DAYS BABY KALE & SWISS CHARD
Kale and chard are loaded with vitamins and minerals, and are delicious raw in salads or cooked in soups, sautées, quiches—even tacos!

Like beets, Swiss chard “seeds” are actually a package of several small seeds clumped together. This means you will need to thin the seedlings, even if you have carefully spaced the “seeds” far apart.
Plant chard seeds ½” deep in potting soil, covering with a layer of potting soil, and watering gently. If you are planting chard outdoors, wait until a week before your last spring frost date.
Swiss chard can be a heavy producer, and there are several techniques to get the most from garden-grown plants.
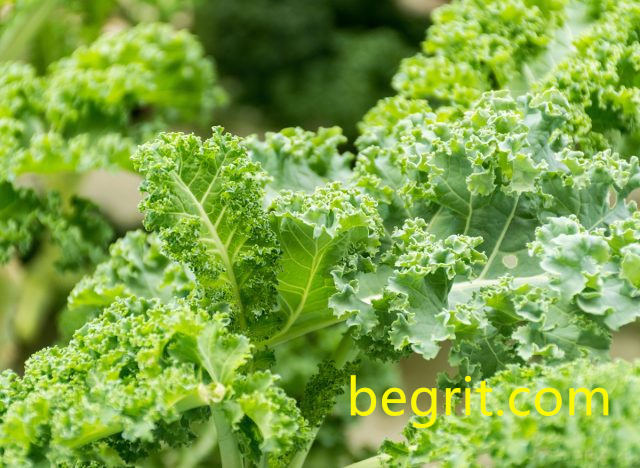
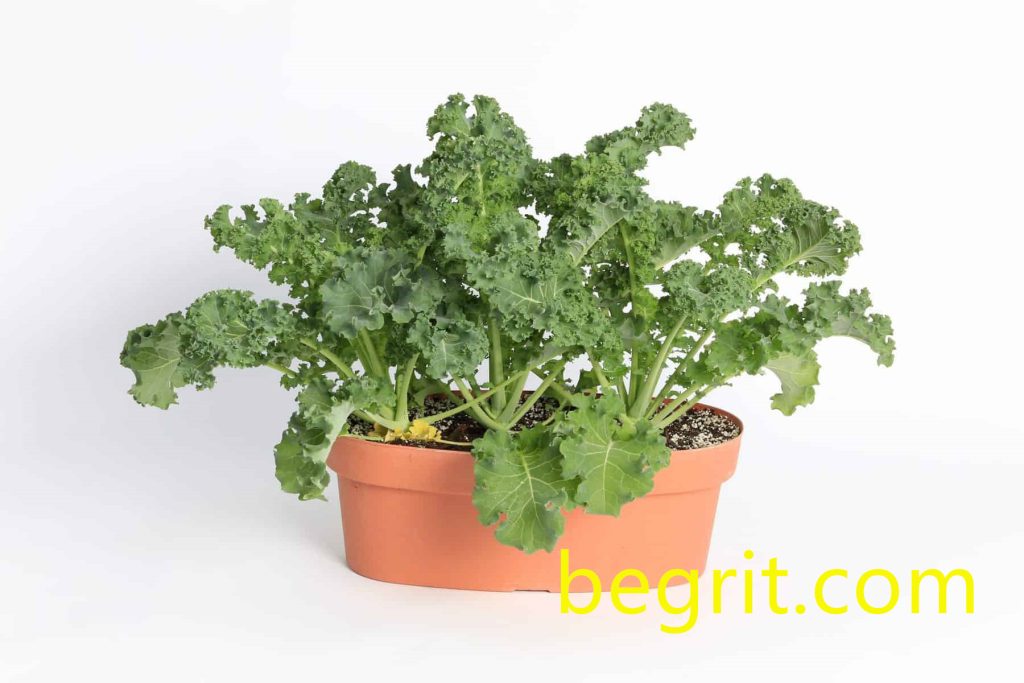
Kale can be planted outdoors up to 6 weeks before the last spring frost.
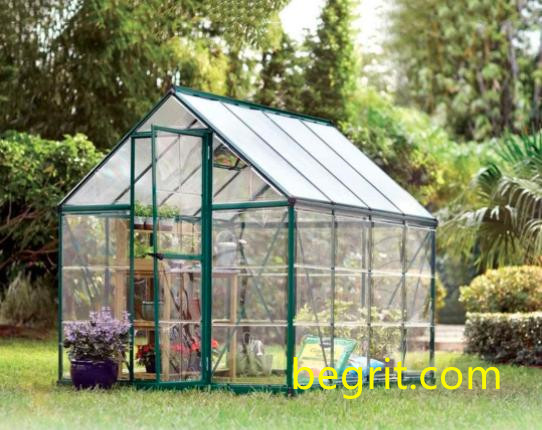
If you leave some plants to harvest later, much around them with shredded leaves, or straw to keep the soil cool and moist. Plants seeds as you would chard, above. Kale can also be grown as microgreens or baby leaves.
